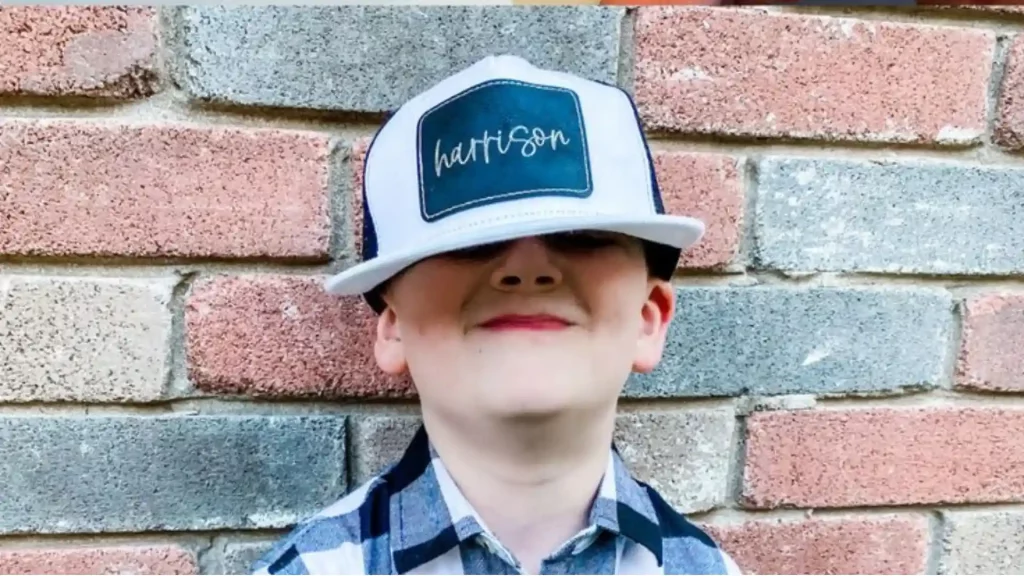
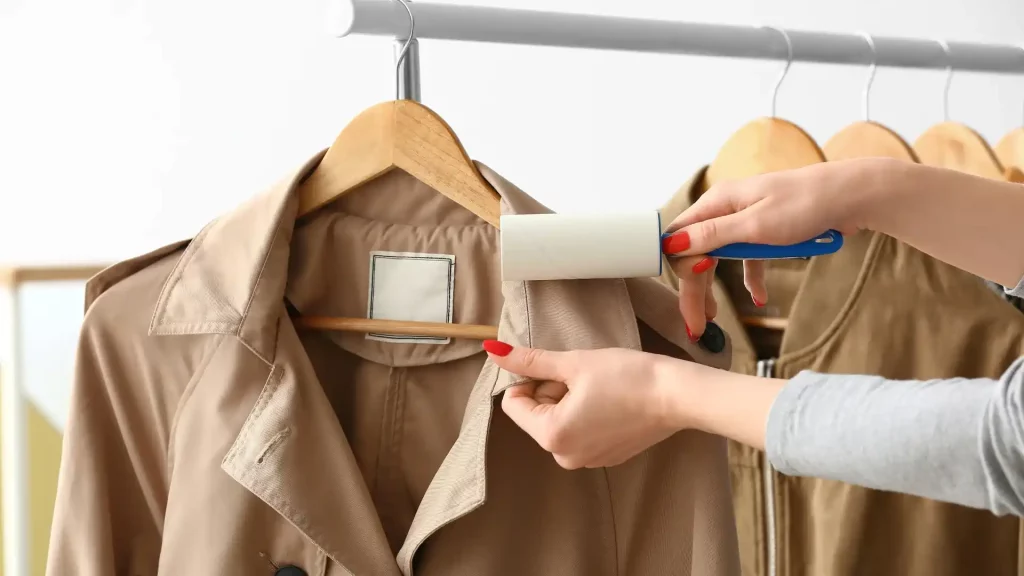
How To Sew A Patch On A Hat
Learn how to sew a patch on a hat in this ultimate step-by-step blog! Replace It: A Beginner’s Guide for Sewing a Popular Hat Patch
Are you curious to learn how to make velcro patches at home and add your own creativity?Well’s its not that simple, but in this blog today we will try to explain you whole process in easy and simple way. We will cover from simple steps for starters to expert tips. This blog is your go-to resource for mastering the art of making a Velcro patch.
Let’s explore our step-by-step process of how to make a Velcro patch from scratch. First let’s have a look on the material which you’ll need to make a Velcro patch.
Here is our step-by-step process of how to make custom Velcro patches
The first step of making a Velcro patch is the sketching of your design. First of all sketch your design either by using software or by sketchpad. While sketching, take into consideration the size, shape and any specifications which you want to add.
Select the right fabric for your patch which will suit your design and need. Make sure that the fabric has durability and can withstand sewing. Cotton and polyester are good options.
Carefully cut your desired shape from your fabric by using fabric scissors.
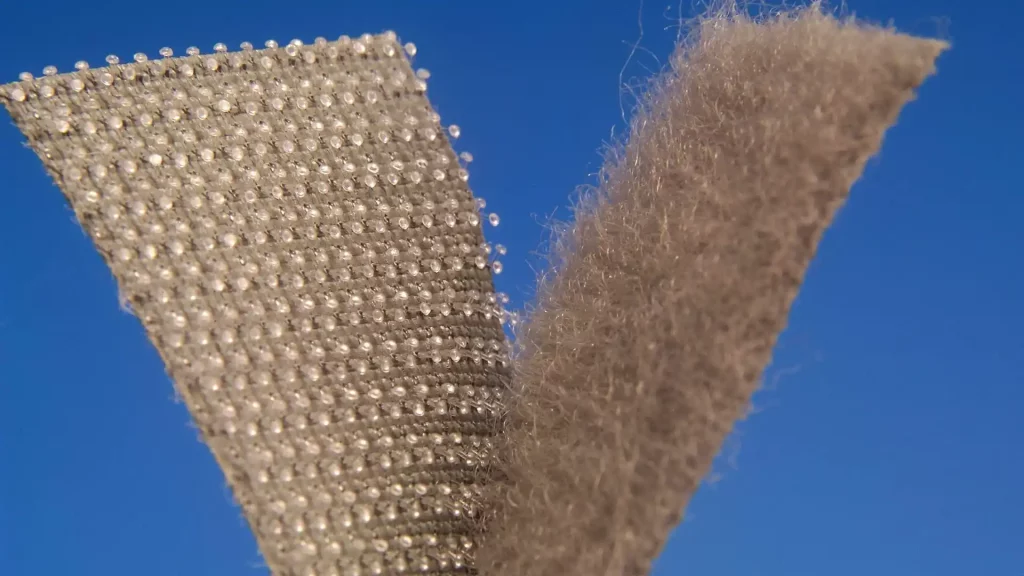
Cut Velcro strips according to the size of your patch. You can sew or use fabric glue to attach one side of the Velcro to the back of the fabric.
You can also use embroidery, fabric paints and embellishments on the front of the fabric to make them more detailed and beautiful.
Sew around the frazzling edges of the fabric patch. You can hand-sew it with needle and thread or you can use a sewing machine.
Attach the second Velcro strip to the opposite side of the first one. Make sure that they align correctly.
Now cut the extra threads and check the patch if it has any loose edge. Furthermore, iron your patch in order to remove any wrinkle.
It’s done! Your patch is ready for use!
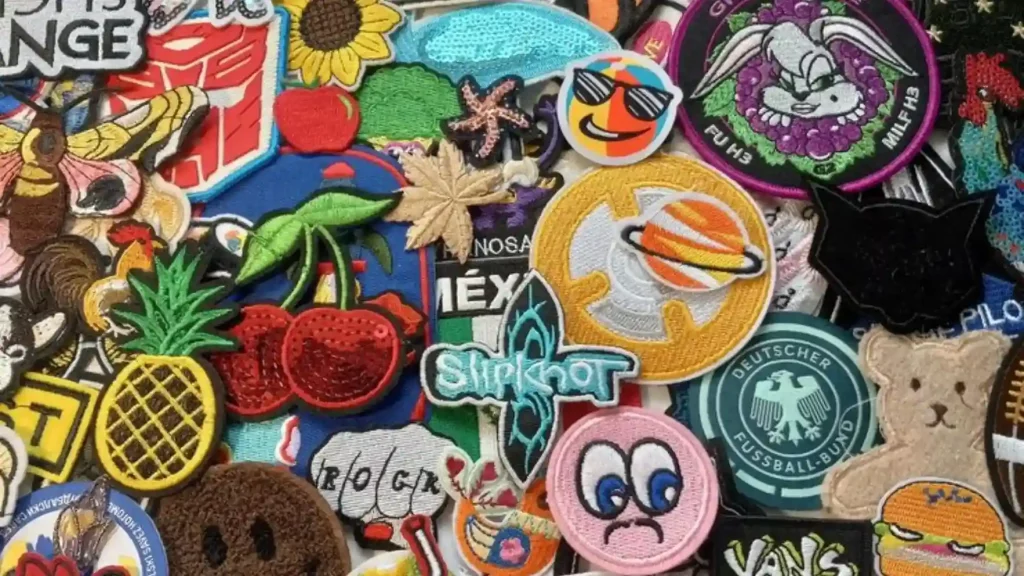
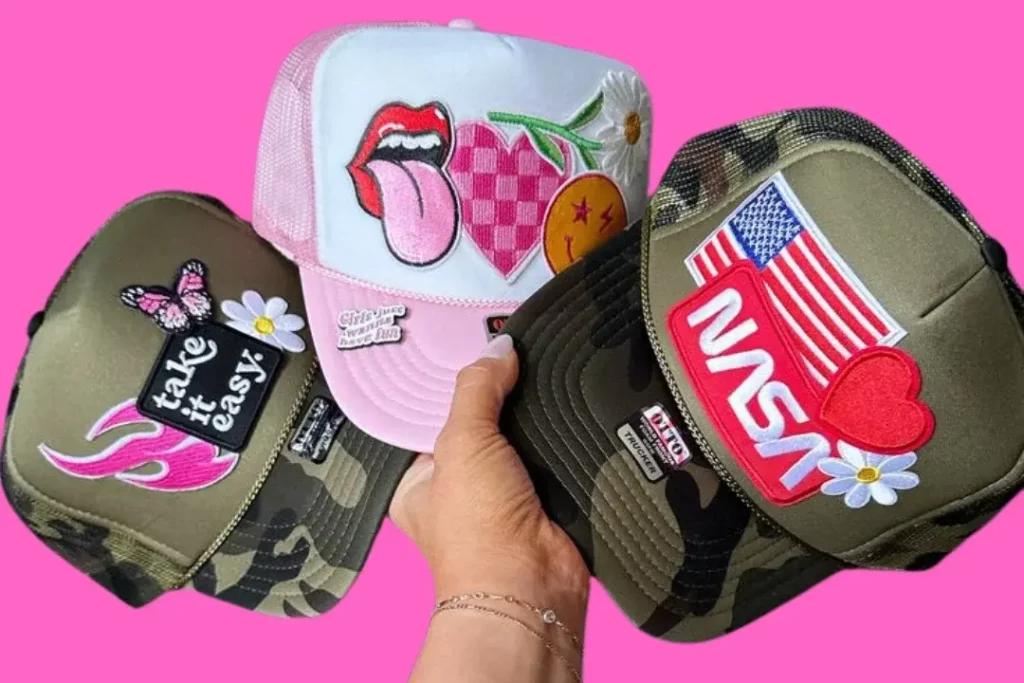
Embroidered patches are the most sought-after type of Velcro patches. These patches are created by stitching the designs onto the fabric with the help of specialized embroidery machine. They have a classic appearance and feel. Moreover, embroidered patches can be made in diverse shapes and sizes.
Woven patches have a smooth and velvety texture and are made by using a loom. They are the best choice for the lightweight fabrics because they are thinner than embroidered patches. Woven patches can be made in multiple colors. They are a good option for intricate designs.
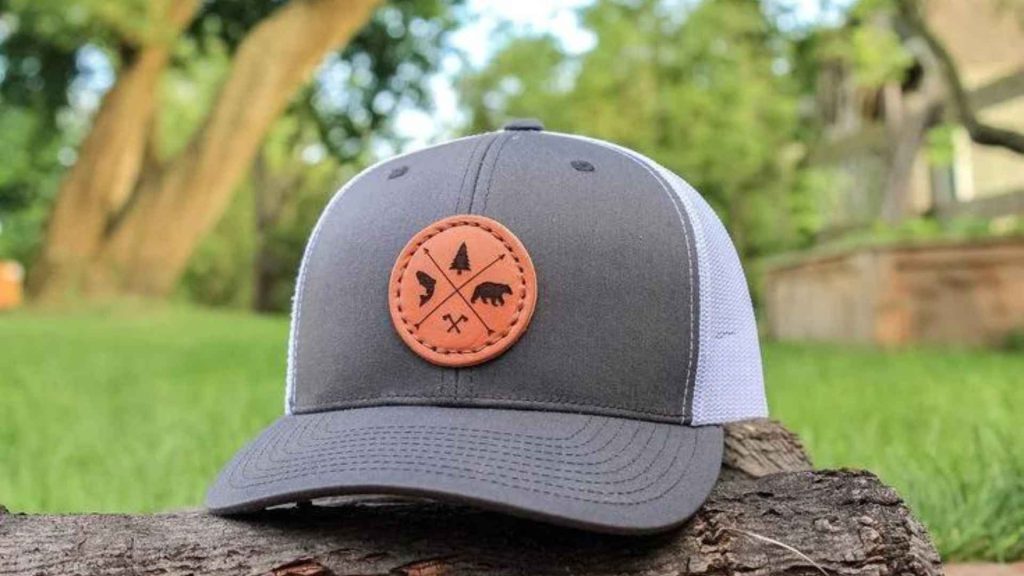
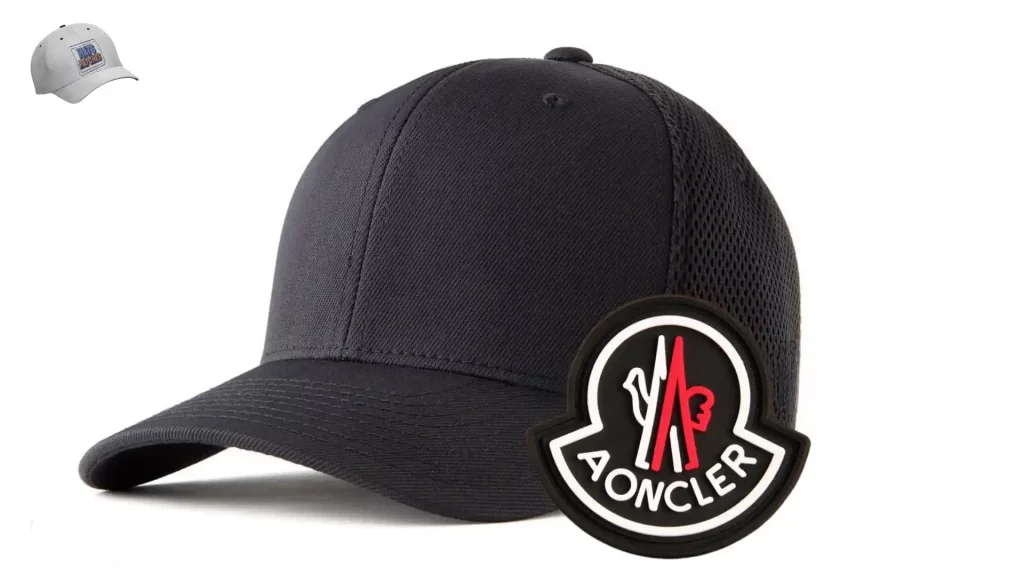
PVC patches are produced by a flexible plastic material. They are waterproof and have a great durability which makes them a popular choice for military and law enforcement applications. These patches can be made in 2D and 3D designs. You can also infuse short details and texts on them. However, they are a good choice for outdoor activities.
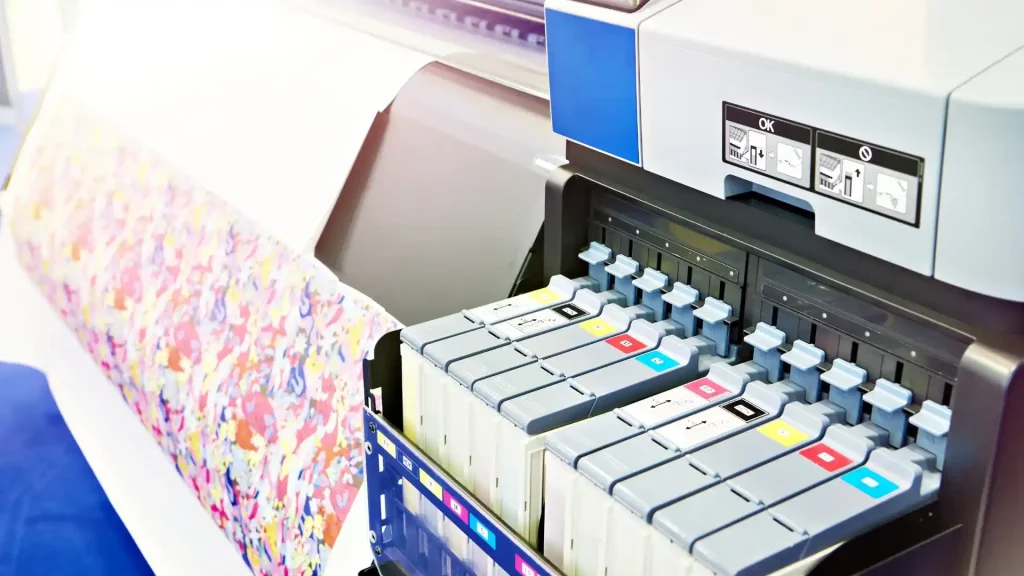
Printed patches are crafted by using a customized printer that transfers the designs onto the fabrics. They have silky and shinny texture and can be made in different sizes and colors. Printed patches are best option for those designs which have photographic elements.
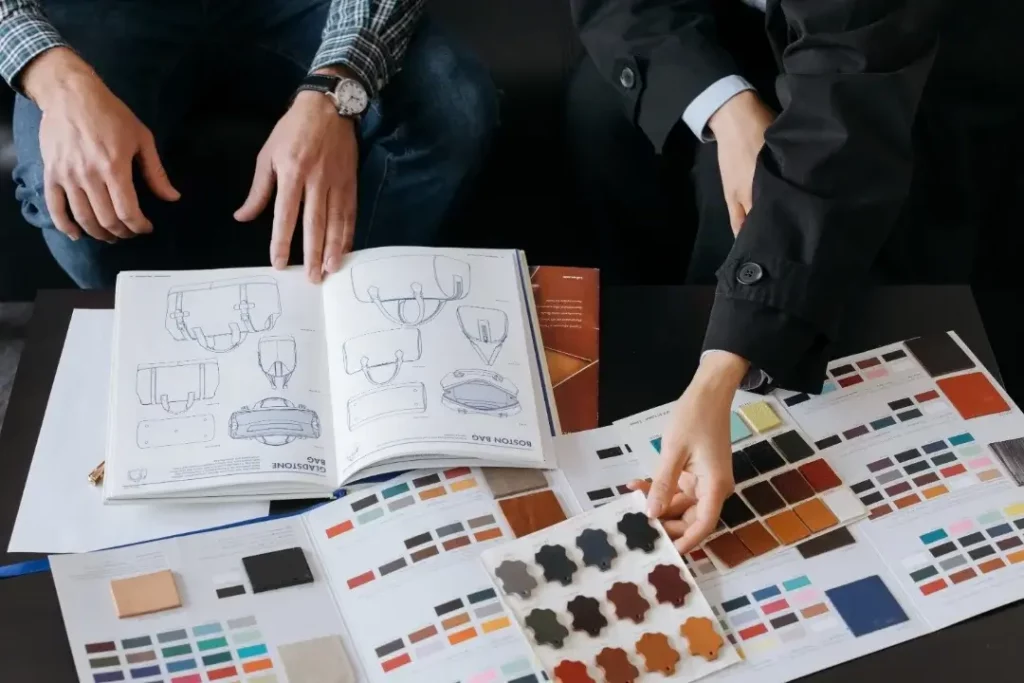
In order to learn how to make a custom Velcro patch, it is also important to make right choice for selecting the fabric. The right option ensures the durability, flexibility of your patch giving it a professional finish. Here are some commonly used materials for making Velcro patches:
Cotton canvas is a preferred choice due to its sustainability and it is also easy to handle. It offers a strong base for several designs and is available in multiple colors.
Polyester twill is a synthetic fabric that has great durability and is resistant to wrinkles. Its smooth surface makes it suitable for complex designs.
Felt is also a good material for making Velcro patches. It is a smooth and thick fabric and to work with it is easy. It is preferred for its fluffy texture as well as its fabric glue absorbent ability.
Denim is a sturdy and durable fabric that gives a casual and robust look to a Velcro patch. It is a good choice for casual designs.
Leather is also used for Velcro patches which give them a classic and distinctive look. Velcro patches of leather can be embossed for customization because of having a unique texture.
PU leather is a good option for Velcro patches. It is a substitute for leather and the best option for people who want a leather-like look at competitive prices. PU leather is available in various textures and colors thus making it a versatile fabric.
Waterproof fabrics are also good for Velcro patches. They are best for outdoor garments.
Here are our useful instructions for how to clean a Velcro patch. Let’s have an overview of them.
To conclude, this blog on how to make velcro patches. I’ve explained the whole process of making these patches, from crafting the design to the final touches. You have also found our insights into the best material for Velcro patches, including leather, cotton canvas, polyester twill, PU and so on. So, this will also help you in selecting the right material for your patch according to your needs and preferences. Further, you also explored our tips on how to clean a Velcro patch thus helping you in the maintenance of your patch. In this way, after reading this blog you’ll have a better understanding of how to make Velcro patches and will be able to craft eye-catching Velcro patches easily.
In order to make Velcro patches with a 3D effect, layer different fabrics or use padding. Experiment with textures for added depth.
Ensure both Velcro sides are clean, and consider reinforcing stitching if needed.
Ironing on low heat can help smooth out wrinkles, but it’s not always necessary.
Yes, due to its Velcro fastening system it is easy to attach and remove which makes it reusable.
No spam, notifications only about Latest posts, updates.
Learn how to sew a patch on a hat in this ultimate step-by-step blog! Replace It: A Beginner’s Guide for Sewing a Popular Hat Patch
How To Attach Leather Patch To Hat: A Step-by-Step Guide for Excelling at Joining Leather Patches likes a Star to Your Number One Hats! “Discover
How to Put a Patch on a Hat without Sewing: A Step-by-Step Guide for the Craft of Non-Sewing Reforming your Hat Customization Hats act as
How to Make Sublimation Hat Patches, Step Up Your Hat Game With Do It Yourself DIY Project At Home “Discover best methods on how to
How to Attach PVC Patch to Hat: A Step-by-Step Guide for Excelling at Adding PVC Patches to Your Hats Like A Pro “Discover a step-by-step
Discover The Art Of How To Make Velcro Patches And Craft Your Own Trendy Velcro Patches Are you curious to learn how to make velcro

Looking for high-quality, budget-friendly, and trendy design hat patches? Order your bespoke design today and enjoy big discounts.
Don’t miss our future updates! Get Subscribed Today!
©2024 hatspatches.com - All Rights Reserved
WhatsApp us