
How To Sew A Patch On A Hat
Learn how to sew a patch on a hat in this ultimate step-by-step blog! Replace It: A Beginner’s Guide for Sewing a Popular Hat Patch

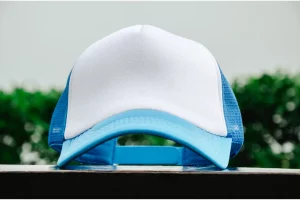


Learn how to sew a patch on a hat in this ultimate step-by-step blog! Replace It: A Beginner’s Guide for Sewing a Popular Hat Patch
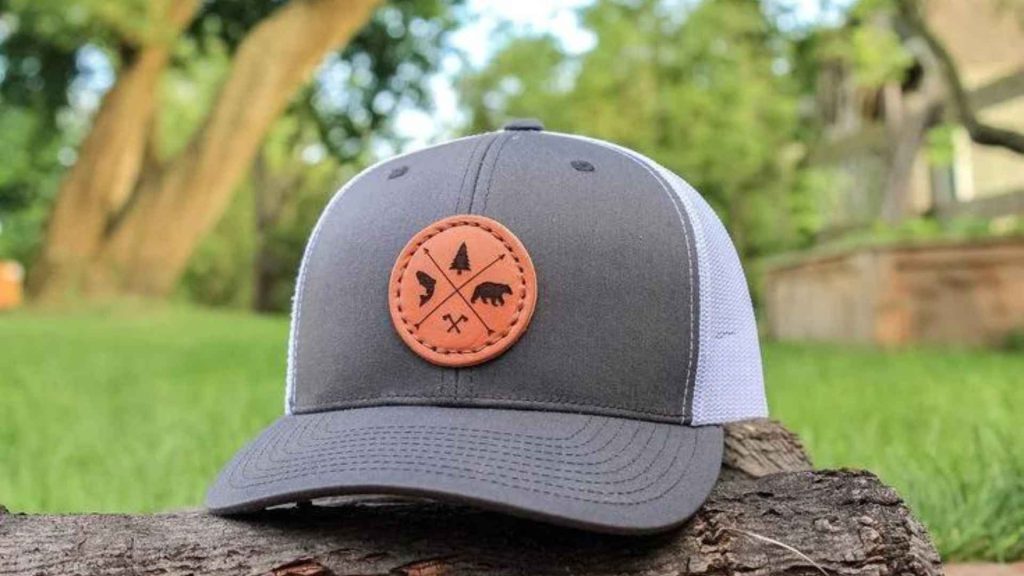
How To Attach Leather Patch To Hat: A Step-by-Step Guide for Excelling at Joining Leather Patches likes a Star to Your Number One Hats! “Discover

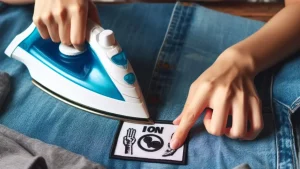
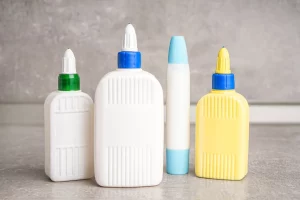
How to Put a Patch on a Hat without Sewing: A Step-by-Step Guide for the Craft of Non-Sewing Reforming your Hat Customization Hats act as
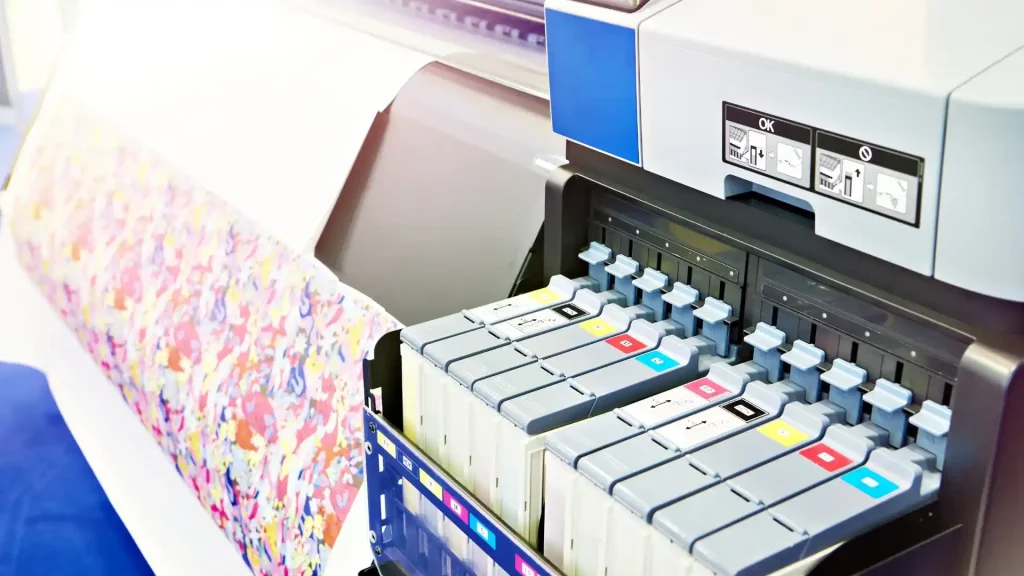
How to Make Sublimation Hat Patches, Step Up Your Hat Game With Do It Yourself DIY Project At Home “Discover best methods on how to
How to Attach PVC Patch to Hat: A Step-by-Step Guide for Excelling at Adding PVC Patches to Your Hats Like A Pro “Discover a step-by-step
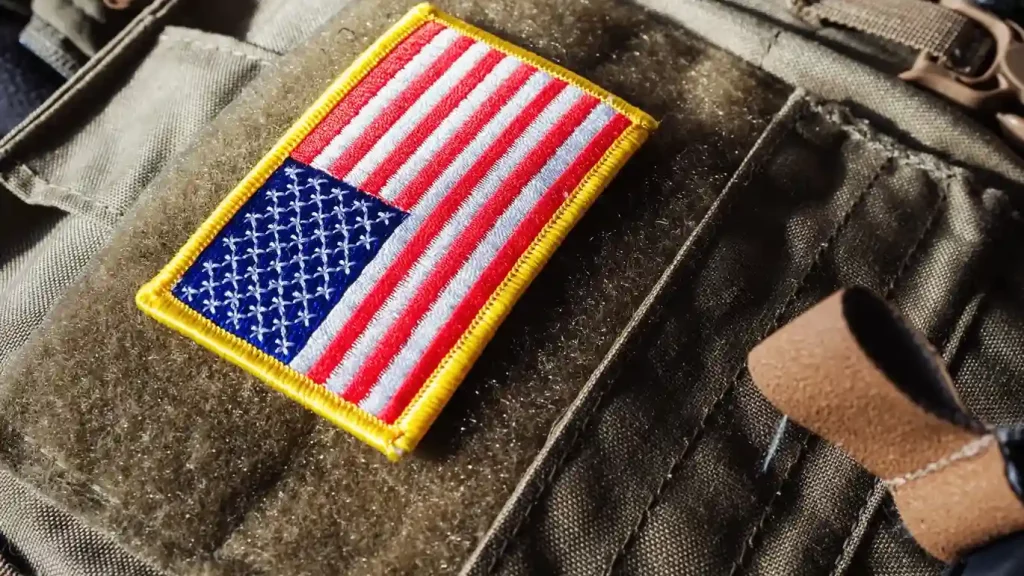
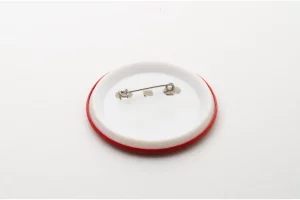
Discover The Art Of How To Make Velcro Patches And Craft Your Own Trendy Velcro Patches Are you curious to learn how to make velcro