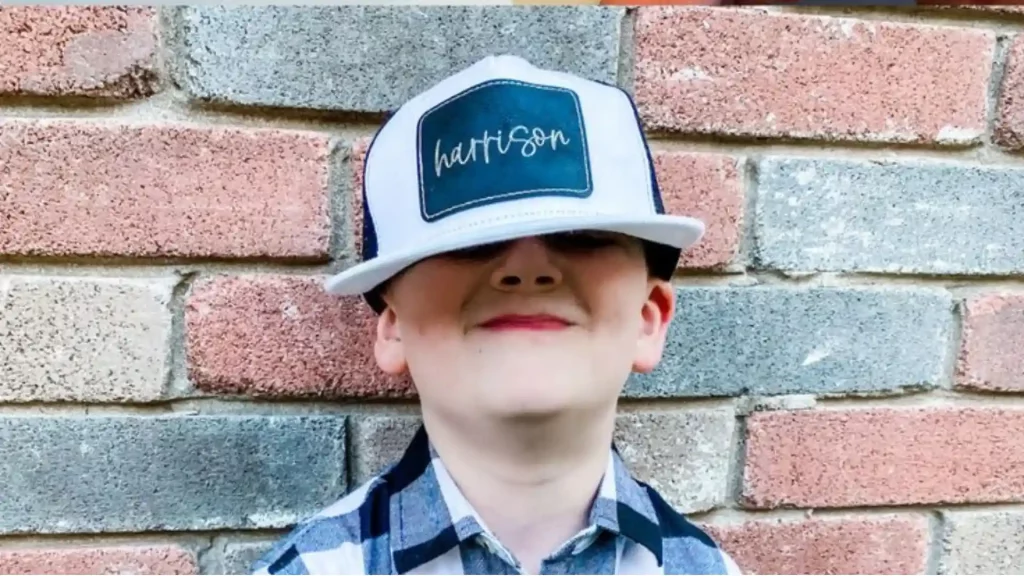
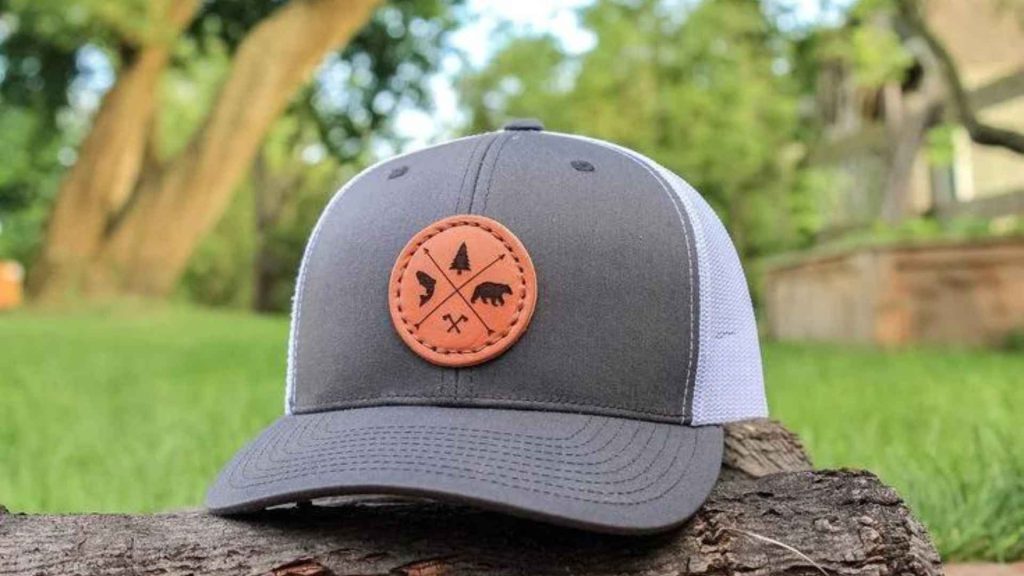
How To Sew A Patch On A Hat
Learn how to sew a patch on a hat in this ultimate step-by-step blog! Replace It: A Beginner’s Guide for Sewing a Popular Hat Patch
Initially, patches were used to repair the holes. But now-a-days their purpose has quite changed. Now patches are used to make your garment unique and different. If you are also looking for how to make an iron-on patch? No matter whether you want to repair your garment and want to give your old garment a new life with the art of crafting custom iron-on patches? At Hat patches, This blog will simplify your process and will help you in crafting eye-catching patches for your clothes.
In order to learn How To Make An Iron-on Patch let’s see our step-by-step method of making bespoke patches. But before heading towards the method you should also be aware of the material that you’ll need for making iron-on patches.

Firstly, you’ll need fabric, of which you’ll make a patch. Cotton and denim are the best choice for iron-on patches.
You should have a sharp fabric scissors for precise cutting.
You’ll also need heat-activated glue for ironing patches onto fabric.
For tracing or outlining patch designs you should have a pen, fabric marker or chalk.
In order to apply heat for adhesion, you need an iron and an iron board.
To protect the fabric while ironing, parchment paper should also be available.
For adding durability to your patch you’ll need a sewing kit too.
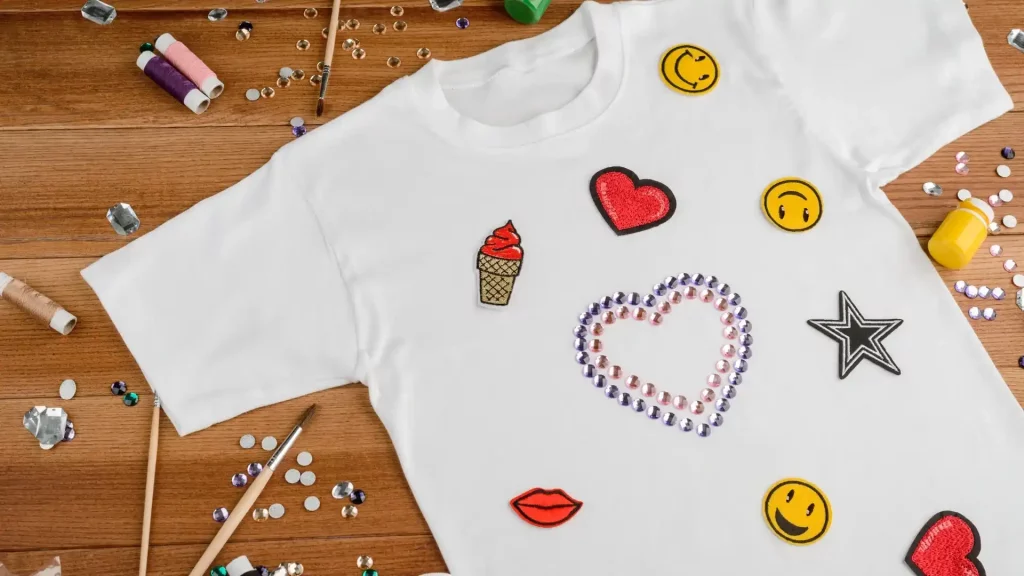
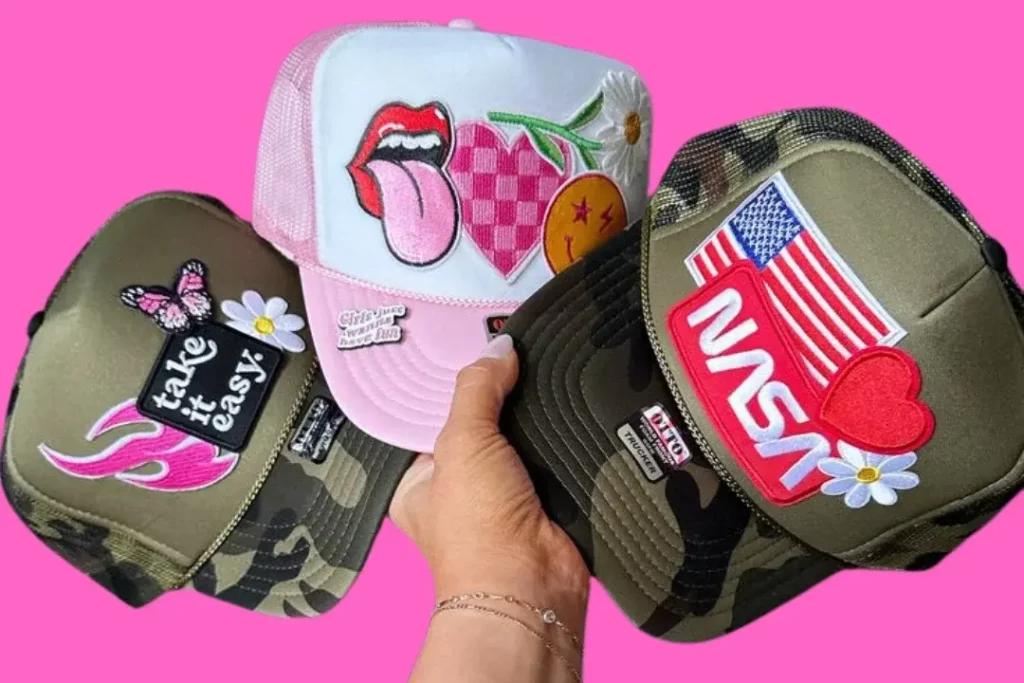
If you want to customize your patch then you need these additional embellishments which will make your patch more attractive and charming.
Beads and sequins adding a texture and sparkle to your patches.
You can use fabric paints and markers for a detailed design and attractive colors.
In order to enhance patches with intricate stitching you should have embroidery floss.
If you want to customize you patch then you can use patches of different textures like felt, velvet and other unique fabrics.
Buttons and appliqués are used for decorative purpose.
To create an eye-catching effect, you should use glitter or metallic sheets.
Let’s move forward and scrutinize our step-by-step method of how to make an iron-on patch.
This detailed guide breaks down each step involved in creating iron-on patches, from preparing materials to customizing designs and finally adhering the patches onto clothing or fabric.

Sometimes iron on patch can cause some issues or problems, so here are our tips for you. They will help you in tackling these issues and will also help you in perfection.
If your patch isn’t attaching completely, then apply the heat once again with proper pressure on high speed and also increase the duration. You should also check if there is any wrinkle or debris because they can problem in adhesion as well.
To avoid uneven adhesion ensure the even apply of iron of the whole patchy area. Apply iron with gentle and consistent pressure.
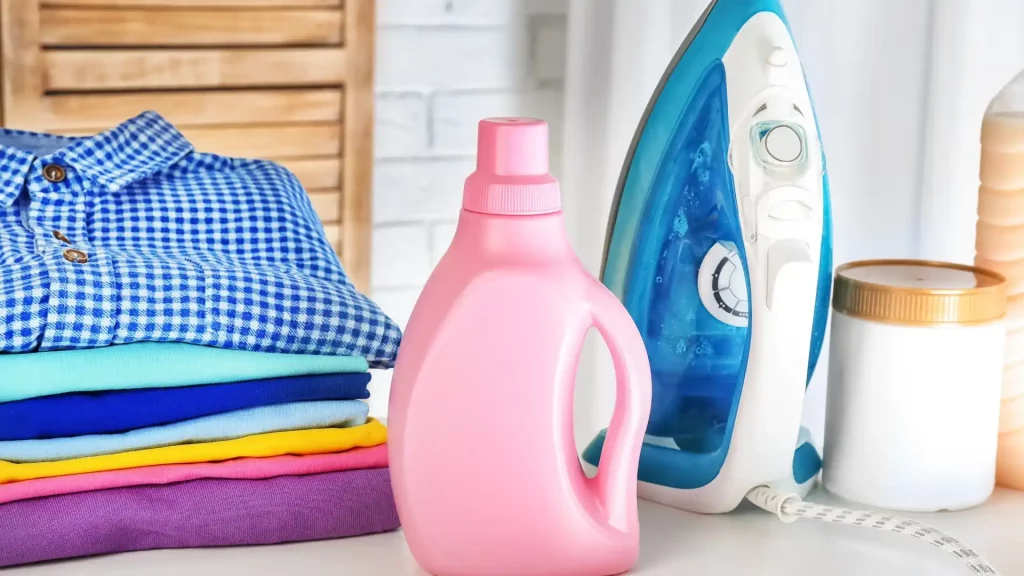
In order to save your patch, turn the garment inside out before washing it.
Always use mild detergents for an iron on patch, because harsh detergents can cause damage or discoloration of your patch.
To prevent the damage always give it a gentle washing cycle.
To maintain the durability of your iron on patch air dry your clothe.
Experiment with different embroidery stitches to create intricate designs.
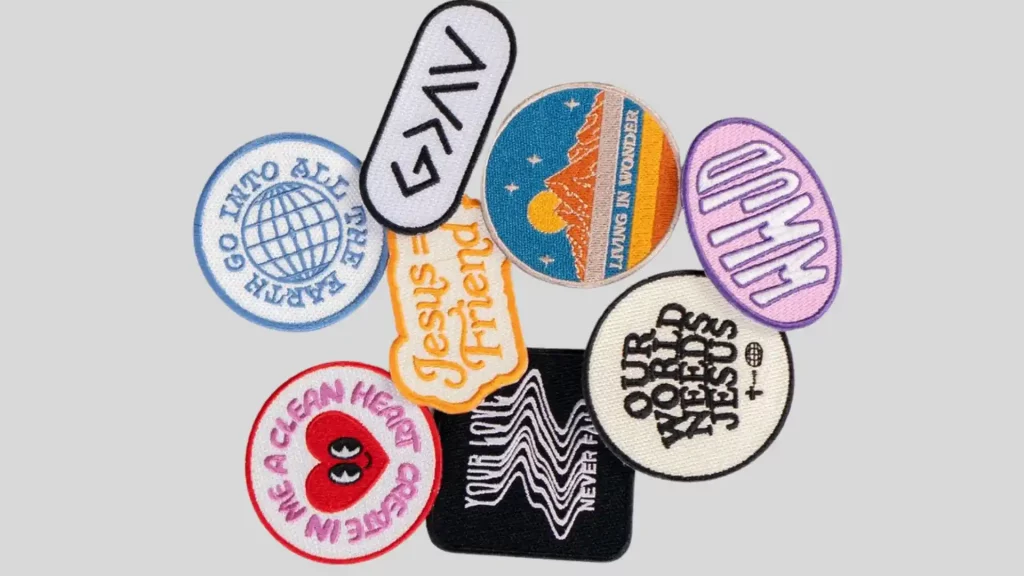
Design patches around specific themes like nature, animals, or favorite quotes for a cohesive collection.
Combine multiple patches to create depth and uniqueness.
Play with various shapes and sizes to suit different clothing items.
Incorporate various materials like fabric, beads, or buttons for a multidimensional effect.
These detailed tips aim to troubleshoot common issues, provide guidance on maintaining garments with iron-on patches, and offer creative ideas for designing a variety of patch styles to enhance personalization and uniqueness.
In conclusion of this guide on ‘how to make an iron-on patch’ from start to finish. By breaking down the simple step-by-step process, required materials and customization options, anyone can learn to craft their own unique iron-on patches. Following these techniques, You can look forward to designing and creating some personalized patches featuring your own artistic designs and styles. The tips shared will also help ensure your patches adhere properly and last through washes. Overall, this proved to be an enjoyable and creative DIY project to unleash your artistic talents and put a personal touch on your wardrobe. If you want to remove a patch on your clothes read this blog: How to remove iron on patches.
Cotton and denim fabrics work very well as they hold the fusible adhesive well and are durable for washing.
It’s best to use an iron that can be set to the appropriate temperature as recommended by your fusible adhesive for proper bonding.
Generally 10-15 seconds is sufficient to fuse the patch, but check your adhesive package for exact time & temperature instructions.
Yes, iron-on patches can be washed if you take precautions like turning garments inside out and using a gentle cycle. Air drying is best.
If a patch lifts, re-iron it with additional heat and pressure. You can also reinforce with hand-sewing around the edges for extra durability through washes.
No spam, notifications only about Latest posts, updates.
Learn how to sew a patch on a hat in this ultimate step-by-step blog! Replace It: A Beginner’s Guide for Sewing a Popular Hat Patch
How To Attach Leather Patch To Hat: A Step-by-Step Guide for Excelling at Joining Leather Patches likes a Star to Your Number One Hats! “Discover
How to Put a Patch on a Hat without Sewing: A Step-by-Step Guide for the Craft of Non-Sewing Reforming your Hat Customization Hats act as
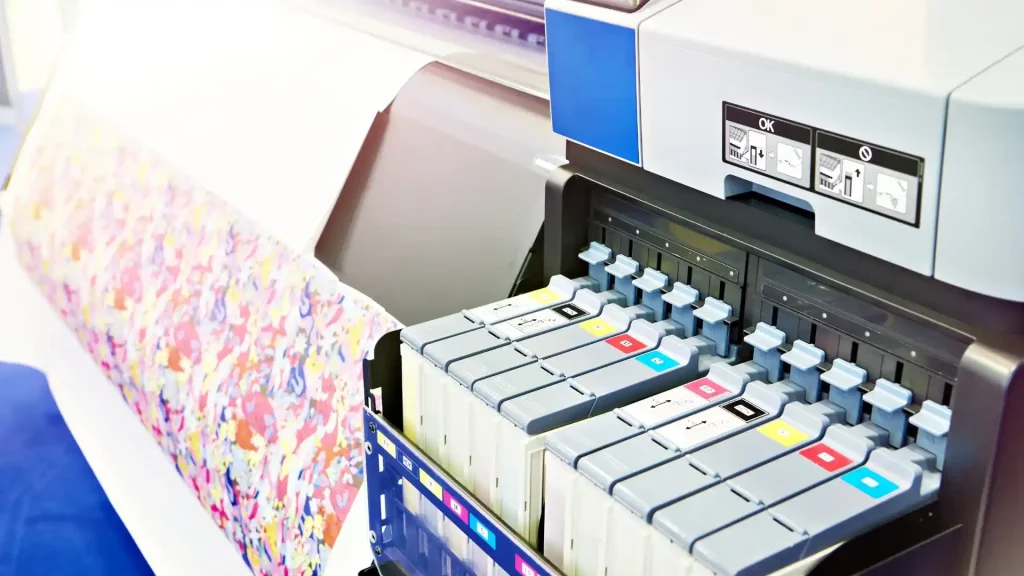
How to Make Sublimation Hat Patches, Step Up Your Hat Game With Do It Yourself DIY Project At Home “Discover best methods on how to
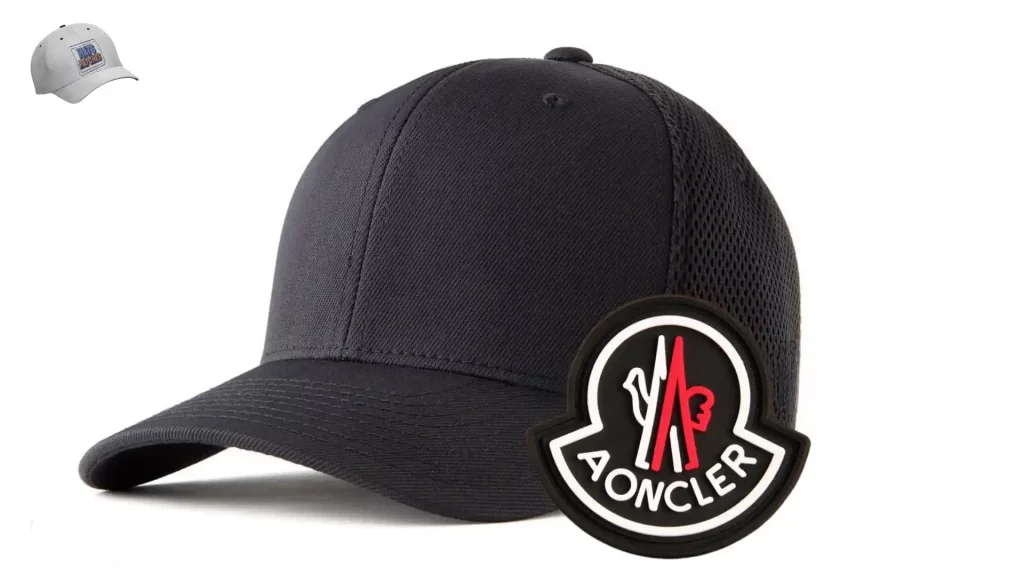
How to Attach PVC Patch to Hat: A Step-by-Step Guide for Excelling at Adding PVC Patches to Your Hats Like A Pro “Discover a step-by-step
Discover The Art Of How To Make Velcro Patches And Craft Your Own Trendy Velcro Patches Are you curious to learn how to make velcro

Looking for high-quality, budget-friendly, and trendy design hat patches? Order your bespoke design today and enjoy big discounts.
Don’t miss our future updates! Get Subscribed Today!
©2024 hatspatches.com - All Rights Reserved
WhatsApp us