
How To Sew A Patch On A Hat
Learn how to sew a patch on a hat in this ultimate step-by-step blog! Replace It: A Beginner’s Guide for Sewing a Popular Hat Patch
Hats have a rich historical significance, symbolizing various roles, statuses, and identities in societies worldwide. Throughout history, hats have been used as a means of self-expression. Beyond fashion statements, hats serve practical purposes. If you want to know how to put a patch on a hat, whether you are a beginner, in search of ideas and creative methods, or want to fix or cover the holes and imperfections on your hat. Join us in this journey of patching a hat and redefining your style effortlessly.
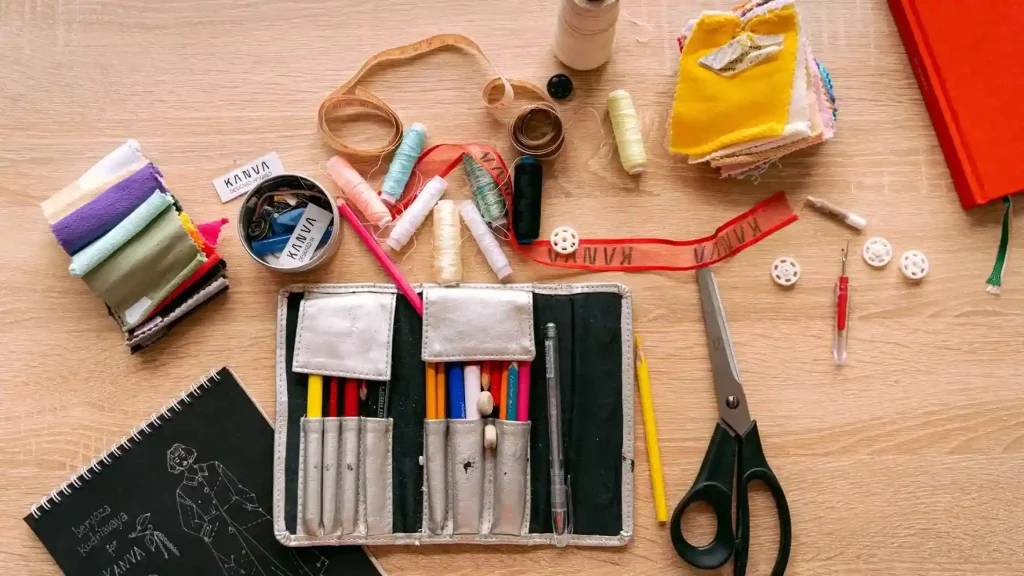
Firstly choose a hat upon which you want to put a patch.
Select a patch that complements the hat’s style and material. And also consider the size of the patch.
If you select the sewing method then pick a thread that matches the patch and hat color.
If you want to use adhesive patches, ensure it is suitable for fabric.
You also need scissors for trimming threads or excess fabric.
This material is needed for iron-on patches.
In case of sewing or ironing it isn’t suitable for your patch or hat material.
Clean and Hat: Ensure the hat surface is clean and dry. Use a lint roller or gentle soap and water to remove any dirt or dust. Let it dry completely.
Decide place: Position the patch on the hat to visualize where you want it. Consider the style and balance of the hat. Common placements include the front, side, or back.
In the sewing method, choose a thread color that matches the patch or the hat for a subtle or contrasting effect.
Thread the needle and start sewing from the back of the patch. Stitch along the edges or through the patch’s perimeter and the hat, ensuring a secure attachment. Knot the thread at the back after sewing around the patch.
If you use the iron-on method, set the iron to the appropriate heat level for the hat material (consult the patch instructions for heat recommendations).
Place the patch on the desired spot. Cover it with a thin cloth or parchment paper to protect the patch and hat from direct heat.
Press the iron on the patch area for the recommended time, applying even pressure. Avoid using steam. Allow it to cool before checking the bond.
In adhesive technique, follow the instructions on the adhesive patch. Typically, you’ll peel off the backing and press the patch firmly onto the hat, ensuring it adheres evenly.
Trim excess thread and fabric: If sewing, trim any excess threads. If needed, trim any extra fabric around the patch for a clean finish.
Whether sewing, ironing, or using adhesive, allow sufficient time for the patch to bond securely to the hat.
Personalize further: Consider adding additional embellishments like beads, sequins, or embroidery around the patch to enhance its visual appeal (if desired).
There are several methods to attach patches to hats, each offers its own benefits and considerations:
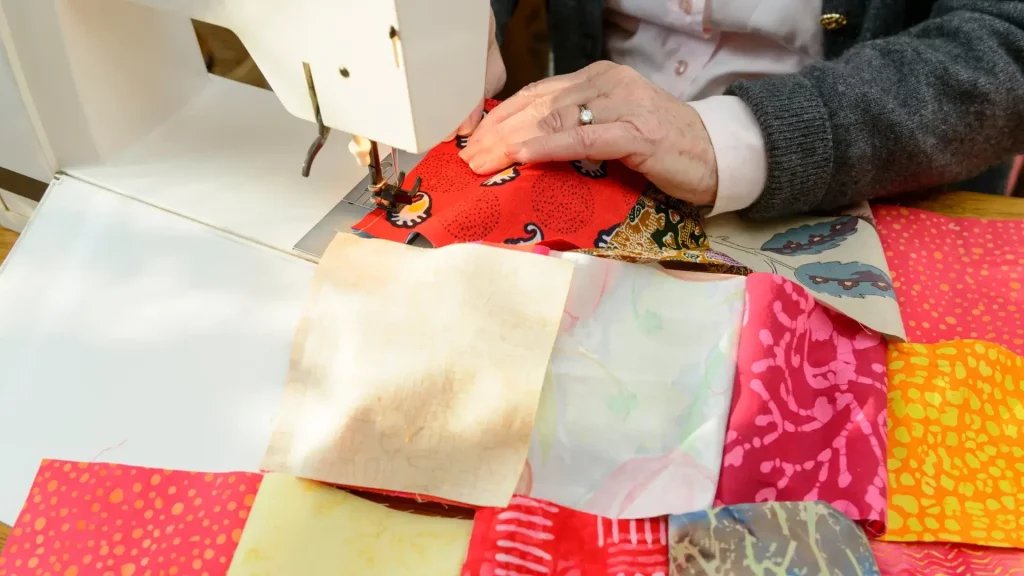
Sewing is the most strong and long-lasting solution if you are looking to know how to sew patches on a hat and want long-term results and save your hat from damage then sewing is the best option but it requires a little skill. Moreover, there are two options in the sewing method:
1. Hand sew
2. Use a sewing machine
Using sewing machine is the most robust, but it is your choice which one you want to use. If you have expertise in hand sewing then you can do a good job.
If you want to sew your patch by hand, then let’s have a look on our step-by-step guide on how to hand sew a patch on a hat.
Step 1: First of all decide the position where you want to put your patch. Once, position is selected then pin it in place.
Step 2: Then, glue the patch in position on the hat. This will help in positioning the right place and not let it change location while you’re sewing.
Step 3: Select a thread, matching to the color of your patch and hat. Then have a heavy-duty needle and after threaded, tie a knot at the end to prevent the thread from getting loose.
Step 4: Next, place your thimble on either your right or left-hand middle finger (whichever is dominant). Then turn your hat inside out and start sewing the patch, using your thimble finger.
Step 5: Don’t get carried away while pulling the needle through the hat and patch; take it slow. This way, you minimize the likelihood of tangles or the thread snapping halfway through.
Step 6: Sew around the edges of the patch until it is securely attached. Then, cut the thread and tie a knot. Make sure that the knot is inside of the hat then it will be invisible while wearing.
Using a sewing machine is slightly more complicated than by hand but it is a feasible option, resulting in a stronger attachment. Here are some steps of using a sewing machine for patching a hat:
Step 1: First of all, use either pins or glue to fix your patch on the selected position, on your hat. Tape can also be used for this purpose, the choice is yours.
Step 2: Match the thread to the color of your hat then thread the needle on your sewing machine and set the necessary stitch length.
Step 3: Once set up, start stitching the edges of the patch for a secure attachment. Try to use the narrowest possible zig-zag setting .
Step 4: Keep in mind backstitch at the beginning and end of your stitching.
Step 5: Finally, cut off the excess thread and tie a knot inside the hat so that it won’t be visible.
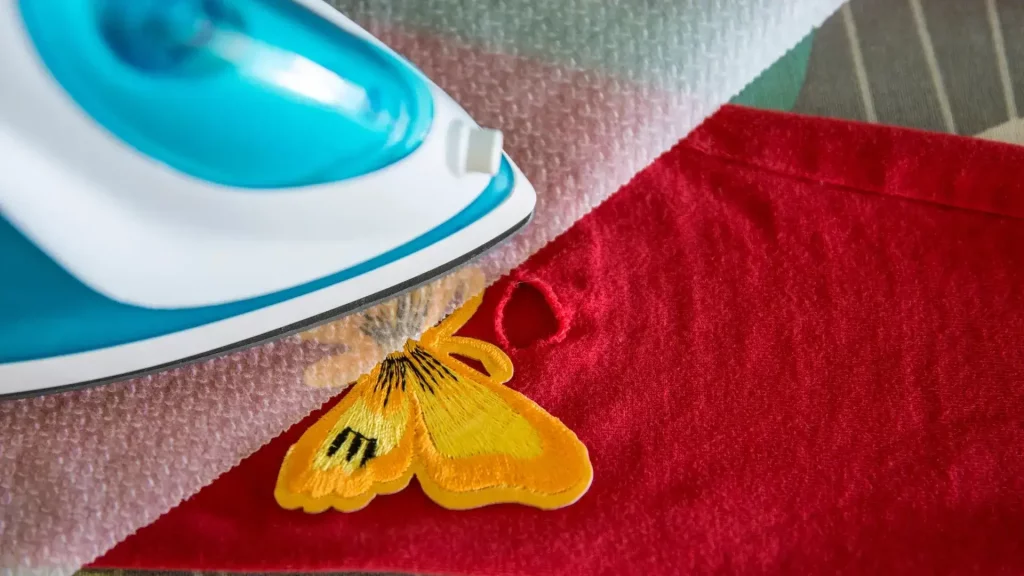
The iron-on method is an equitably long-lasting method of how to sew on a patch on a hat. It is a little bit more complex than the adhesive method but has more durability. However, before using this method make sure it will not damage your hat because ironing isn’t suitable for some fabrics. So here are some steps of iron-on method.
Step 1: Firstly, place the patch on the position where you want to put it then put the hat on the iron board
Step 2: Set the iron to the recommended heat level for the hat material.
Step 3: Cover the patch with a thin cloth or parchment paper to shield it and the hat from direct heat.
Step 4: After preheating the iron, apply heat and pressure with the iron on the covered patch area for the specified time. Be careful and don’t let it to move the selected position. Let it to cool before checking the bond.

Adhesive methods are more convenient, flexible and a non invasive way to securely attach patches without using mechanical fasteners. Adhesives come in various forms, including liquids, tapes, sheets, or sprays, and they are chosen based on the materials being joined and the desired permanence of the bond. This method is followed by these steps:
Step 1: Use adhesive-backed patches.
Step 2: Peel off the backing and firmly press the patch onto the desired spot on the hat, ensuring even contact.
Step 3: Allow sufficient time for the adhesive to bond securely to the hat.
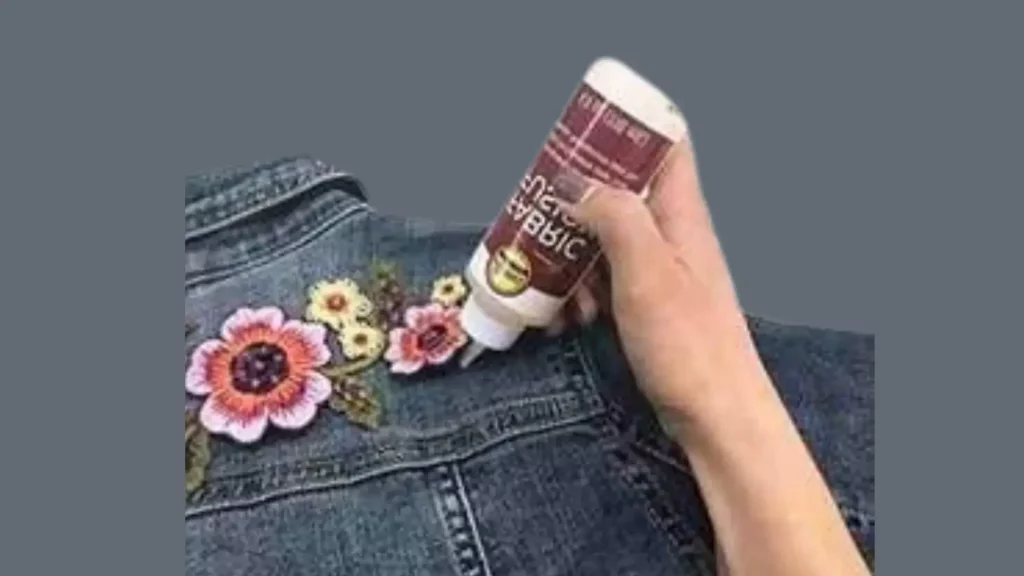
Gluing is the primary option for how to sew a patch on a base. It is a captivating option for applying embroidered patches because it is quick, simple and easy. But it has some drawbacks. It is has less durability and suitable only for certain fabrics. However, here are some steps of fabric glue method.
Step 1: Select the area where you want to put the patch then put your hat on the flat and hard surface.
Step 2: Apply fabric glue to the back of the patch or hat surface, following the glue’s instructions.
Step 3: Press the patch onto the hat firmly, ensuring even contact.
Step 4: Allow the glue to dry completely before using the hat.
Combine sewing and adhesive methods by sewing around the edges of the patch for added durability after adhering it with adhesive.
There are also many types of hat patches some of them are:
Material: Made of fabric with designs stitched onto them.
Appearance: Intricate designs, logos, or artworks embroidered on a fabric base.
Attachment: Typically sewn onto hats, offering durability and a classic look.
Variations: Can be custom-made with various thread colors and designs.
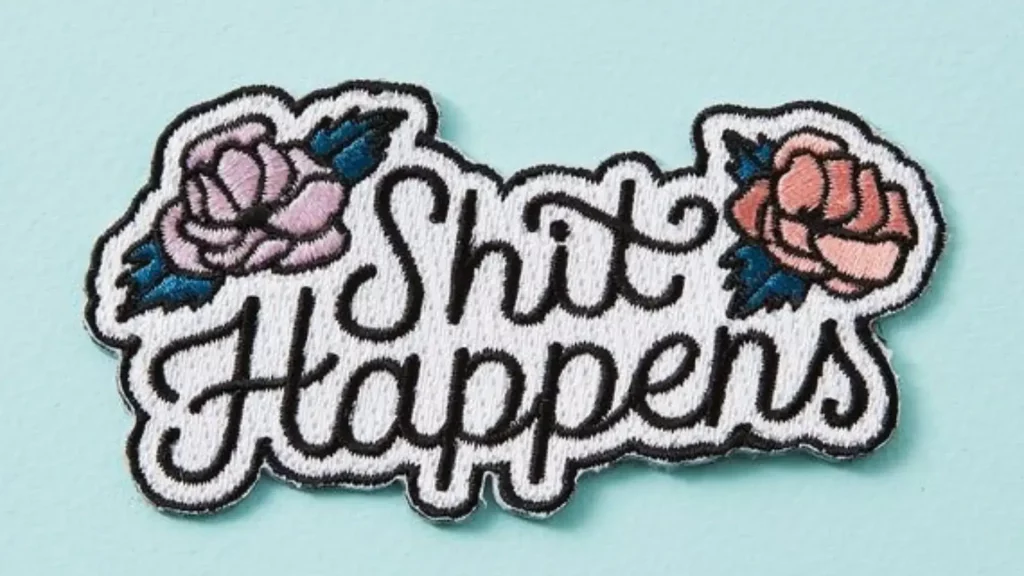
Material: Made of fabric with an adhesive backing activated by heat.
Appearance: Similar designs as embroidered patches.
Attachment: Applied by applying heat with an iron, bonding the patch to the hat.
Convenience: Quick and easy application, suitable for hats that can withstand heat.
Material: Consists of two parts: hook side and loop side.
Appearance: Various designs and styles available in fabric with Velcro backing.
Attachment: One side attaches to the hat (either sewn or adhesive), while the other attaches to the patch, allowing for detachable placement.
Versatility: Enables easy removal and interchangeability of patches.
Material: Made from PVC (polyvinyl chloride) or rubber.
Appearance: 3D designs, often with raised textures and vibrant colors.
Attachment: Generally attached using adhesive or sewing, offering durability and resistance to weather and wear.
Resilience: Suitable for outdoor hats due to their weather-resistant properties.
Material: Constructed with threads woven together to create the design.
Appearance: Intricate designs achieved through weaving threads.
Attachment: Typically sewn onto hats, providing a durable and detailed option.
Detailing: Ideal for intricate designs and fine details due to the weaving process.

Material: Fabric with designs printed onto them.
Appearance: Various designs, including detailed images or artworks.
Attachment: Often sewn onto hats, but adhesive options are available.
Versatility: Allows for intricate designs and photo-realistic images.
Material: Made of leather, offering a rugged and classic appearance.
Appearance: Usually features debossed or embossed designs on the leather surface.
Attachment: Typically sewn onto hats, providing a durable and stylish option.
Durability: Resilient to wear and tear, ages well, and adds a distinct look to hats.
To summarize our discussion on how to put a patch on a hat, this blog covers all the aspects of patching a hat. From exploring the diverse types of patches to mastering attachment methods. By understanding the required material and techniques to innovative trends, we unlock the transformative power of patches. So whether you are a seasoned DIY enthusiast or someone eager to explore the world of customization, this blog is a complete guide to master the art of patching hats and unleashing your creativity.
Yes, patches can be applied to the multiple types of hat, including baseball caps, beanies, fedoras, trucker hats, etc. However, consider the hat material and choose appropriate attachment methods accordingly.
Yes, certain patches work better with specific hat fabrics. For example, iron-on patches may work well with cotton or denim hats, while adhesive patches can suit synthetic materials.
Some patches are removable while some may leave residue or damage the hat when removed. Check the patch type and hat material before removing.
Adhesive patches or sewing can work well with straw hats. Use a delicate touch to avoid damaging the hat’s weave.
Patches made from durable materials like PVC or rubbers are suitable for hats exposed to outdoor elements, offering weather-resistant qualities.
No spam, notifications only about Latest posts, updates.

Learn how to sew a patch on a hat in this ultimate step-by-step blog! Replace It: A Beginner’s Guide for Sewing a Popular Hat Patch

How To Attach Leather Patch To Hat: A Step-by-Step Guide for Excelling at Joining Leather Patches likes a Star to Your Number One Hats! “Discover

How to Put a Patch on a Hat without Sewing: A Step-by-Step Guide for the Craft of Non-Sewing Reforming your Hat Customization Hats act as
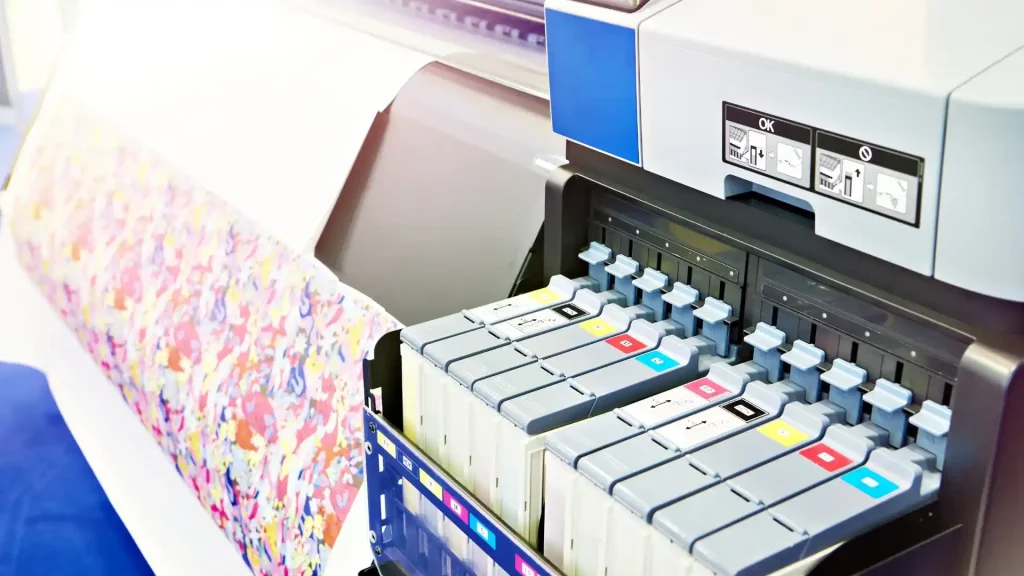
How to Make Sublimation Hat Patches, Step Up Your Hat Game With Do It Yourself DIY Project At Home “Discover best methods on how to
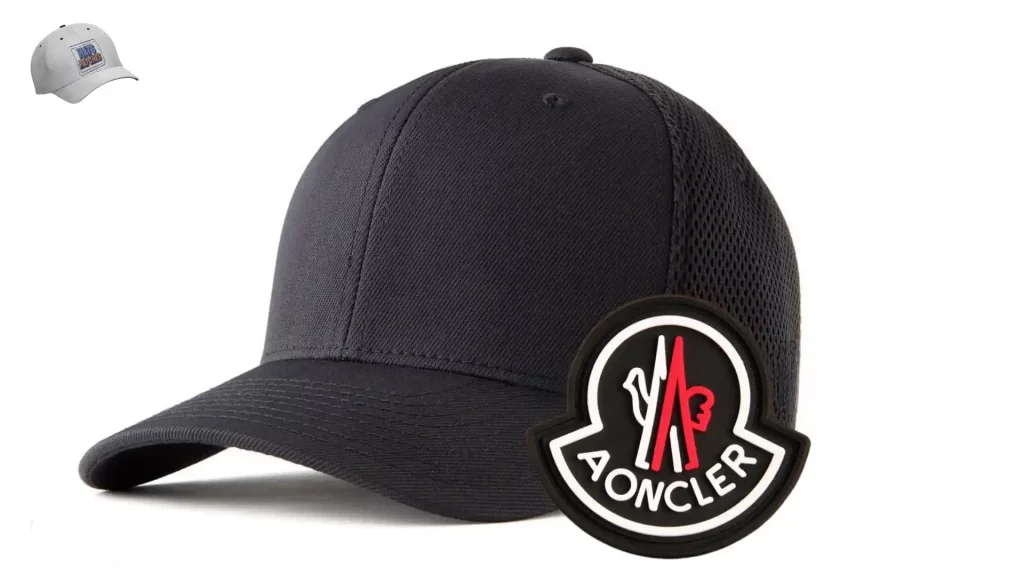
How to Attach PVC Patch to Hat: A Step-by-Step Guide for Excelling at Adding PVC Patches to Your Hats Like A Pro “Discover a step-by-step
Discover The Art Of How To Make Velcro Patches And Craft Your Own Trendy Velcro Patches Are you curious to learn how to make velcro
Don’t miss our future updates! Get Subscribed Today!
©2024 hatspatches.com - All Rights Reserved
WhatsApp us