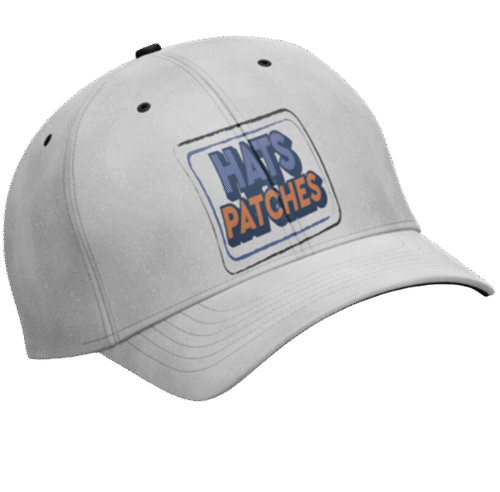
how to put a patch on a hat? Step By Step Guide Custom patches are a stylish way to personalize hats—whether for branding, team spirit, fashion, or gifts. But how do you properly attach a patch to a hat so it lasts and looks professional? In this guide, we’ll walk you through the top methods to put a patch on a hat, along with the best tools, materials, and tips for each one.
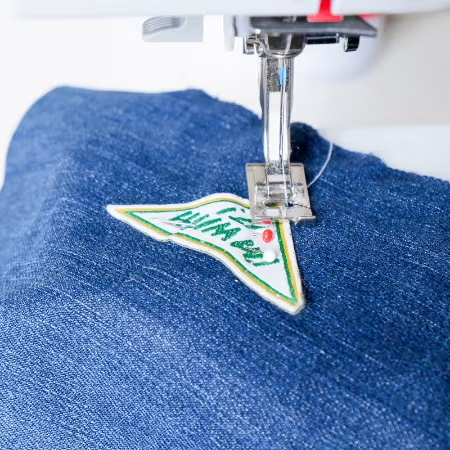
Method 1: Sewing a Patch on a Hat (Best for Durability)
Sewing a patch onto a hat is the most durable and long-lasting method. It ensures the patch stays securely in place through washing, wear, and outdoor use. This method works exceptionally well on all types of hats, especially structured ones like baseball caps or dad hats. It gives a clean, professional finish and works for nearly any patch type—embroidered, leather, PVC, or woven. While it requires a bit more effort and basic sewing skills, it’s the best option for those seeking a permanent and polished look.
Materials Needed:
- Needle and thread (or sewing machine)
- Thimble (optional)
- Pins or fabric glue to hold patch temporarily
Steps To Follow
- Place the patch where you want it on the hat.
- Temporarily hold it in place using pins or a dab of fabric glue.
- Hand-sew or use a curved needle to go around the border of the patch.
- Tie off securely on the inside of the hat.
| Pros | Cons |
|---|---|
| Long-lasting | Takes more time and skills |
| Works on all patch types: embroidered, leather, PVC, woven | Not ideal for thick hats or hard-to-reach spots |
Method 2: Iron-On Method (Fast and Easy)
The iron-on method is perfect for beginners or anyone who wants a fast, tool-free way to attach a patch. It uses heat-activated adhesive on the back of the patch, allowing it to bond to the hat material in seconds. This method is best suited for hats made of cotton, denim, or polyester and works especially well with flat-brim hats or unstructured caps. However, it’s important to note that iron-on patches may not adhere well to mesh or nylon surfaces. This method is great for casual use and offers a balance of convenience and style.
Materials Needed:
- Iron or heat press
- Thin cloth (to protect patch)
- Iron-on patch:
Steps:
- Preheat the iron to medium-high (no steam).
- Position the patch on the hat.
- Place a thin cloth between the iron and patch.
- Press firmly for 15–30 seconds.
- Let it cool before wearing.
| Pros | Cons |
|---|---|
| Quick application | Not suitable for nylon or mesh hats |
| No sewing required | May peel over time or with frequent washing |
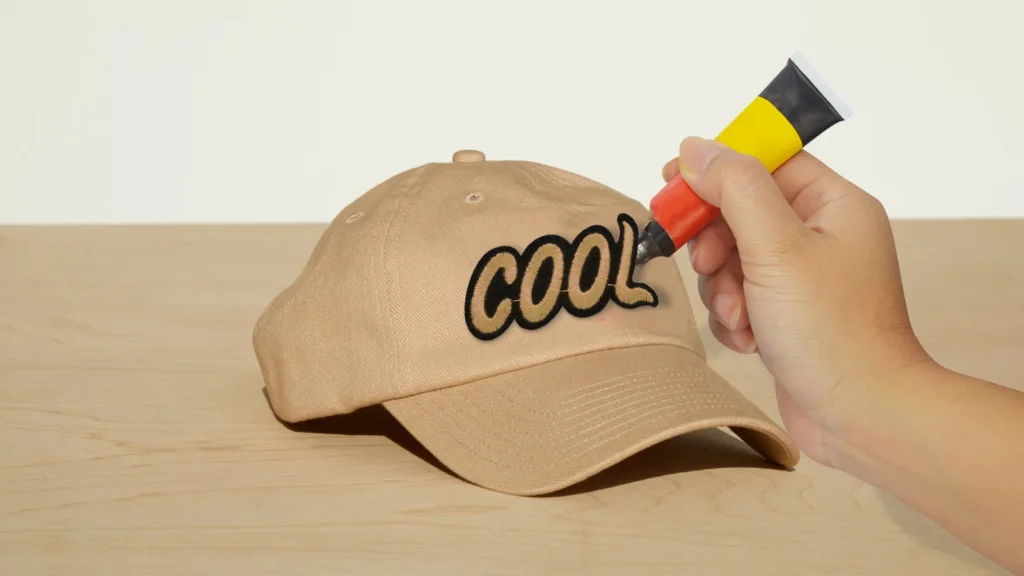
Method 3: Fabric Glue or Adhesive (No Tools Needed
Using fabric glue or adhesive is the easiest way to put a patch on a hat—no sewing, ironing, or heat required. It’s ideal for simple DIY projects or temporary customization. This method works best on flat, smooth surfaces and hats that won’t be exposed to heavy use or frequent washing. Fabric glue is available in both permanent and washable varieties, so choose one based on your needs. While this method won’t last as long as sewing or heat pressing, it’s perfect for fast customization or one-time events, especially when time or tools are limited.
Materials Needed:
- Fabric glue (permanent or washable)
- A flat surface to work on
Steps:
- Apply a thin layer of glue to the back of the patch.
- Press the patch firmly onto the hat.
- Let it dry for at least 24 hours.
| Pros | Cons |
|---|---|
| Quick and tool-free | Less durable than sewing or heat pressing |
| Great for last-minute projects | Might not work well on curved surfaces |
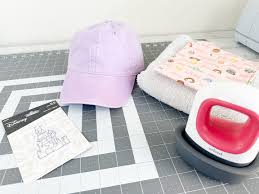
Method 4: Velcro or Hook & Loop Patches (Removable Option)
Velcro patches are perfect for hats that require interchangeable designs, such as tactical hats, work uniforms, or promotional gear. This method involves sewing or gluing one side of the Velcro onto the hat and the other side onto the patch. You can easily switch out patches without damaging the hat, making it ideal for teams, clubs, or frequent brand updates. Velcro-backed patches are also used in military and police gear due to their practicality. Though it requires initial setup and might not be as sleek as sewing, it offers flexibility and ease of use for changing designs often.
Materials Needed:
- Hook & loop (Velcro) set
- Sewing kit or adhesive
Steps:
- Attach the loop side to the hat (via sewing or adhesive).
- Stick the hook side to your patch.
- Press them together when ready to wear.
| Pros | Cons |
|---|---|
| Removable and reusable | Requires setup |
| Great for teams or rotating designs | Not as flush as sewn-on patches |
Final Tips for How to put a patch on a hat:
- Test placement before final application.
- For curved hats, use clips or pins to keep the patch aligned.
- Clean the hat surface before applying glue or heat.
Conclusion:
Whether you’re customizing hats for your brand, event, or personal use, knowing how to put a patch on a hat the right way ensures durability and style. From sewing to heat pressing, choose the method that suits your patch material and hat type—and make your design stick.